

High Titanium White Masterbatch: Top Recommendations for Brilliant Color and Coverage
2026-08-27
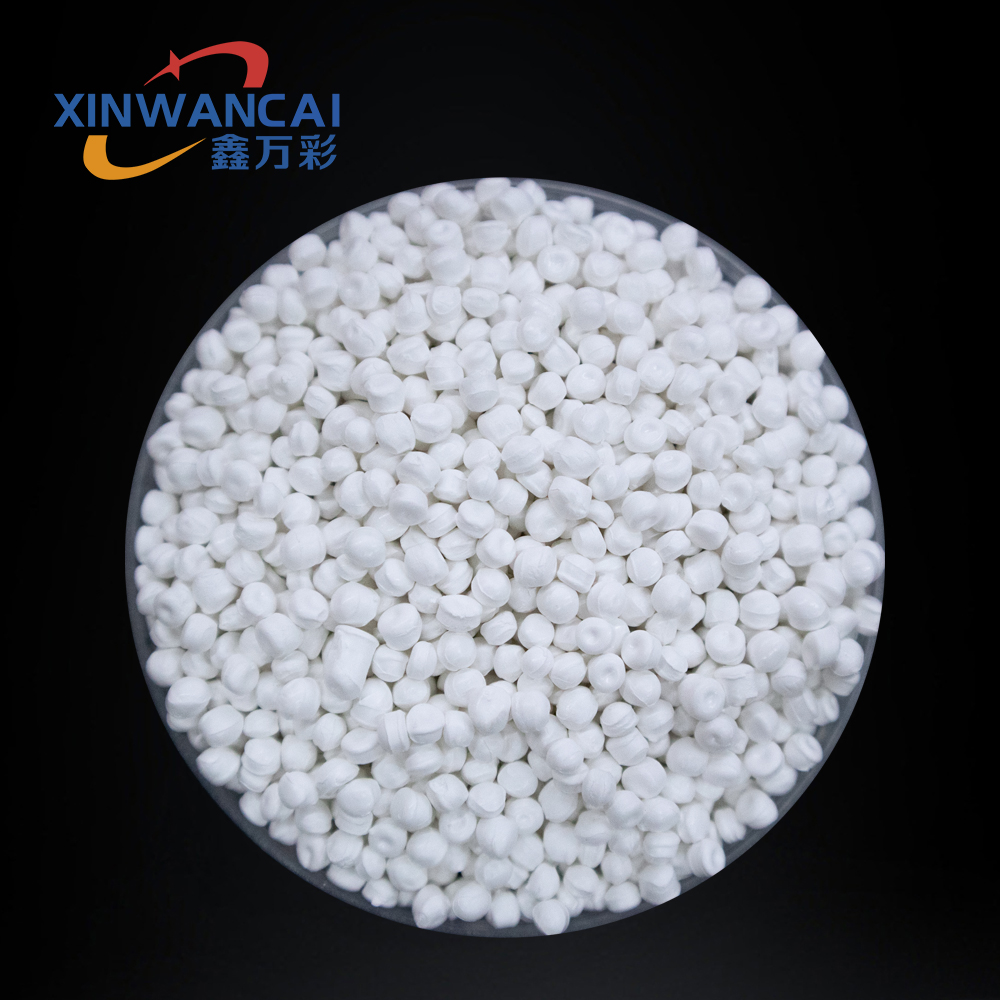
High titanium white masterbatch is the go-to choice when you need brilliant color and full coverage without overloading your resin. Yet finding a batch that disperses evenly and stays cost-effective can be surprisingly tricky. After comparing several options, one supplier consistently stands out—Xinwancai—and in this guide, we’ll share our top picks and what makes them work.
Why high titanium doesn’t automatically mean high coverage
A lot of folks assume that if a pigment has a high titanium dioxide percentage, it will automatically hide whatever is underneath. That's only part of the story. Titanium dioxide is a workhorse for opacity, but its coverage power isn't just about how much is packed into the can. The actual particle size, how well those particles are dispersed, and what kind of surface treatment they carry all play a bigger role than the raw percentage on a data sheet.
You can have two paints with identical titanium levels and one will cover in a single coat while the other needs three. Why? If the titanium dioxide particles clump together, they act like larger chunks that scatter light poorly. Good dispersion breaks them into fine, evenly spaced particles that bounce light back effectively. A slightly lower titanium content with excellent dispersion can easily outperform a higher titanium formulation that's poorly milled.
Then there's the crystal structure. Rutile titanium dioxide delivers far better hiding power than anatase, even at the same loading. Add in surface treatments that prevent flocculation or improve compatibility with the binder, and the real coverage picture shifts. So before chasing a bigger titanium number, it's smarter to ask how the pigment was processed and whether it's actually working at its full potential.
Carrier resin mismatches that quietly reduce opacity
When the carrier resin in a masterbatch does not match the letdown resin, even minor differences in melt flow, crystallinity, or polarity can create micro-domains that scatter light unpredictably. These mismatches often go unnoticed because the visual haze is initially blamed on pigment loading or processing temperature. In reality, the carrier and host resin may have different refractive indices or phase boundaries that leave small voids or agglomerates after cooling, quietly eating away at opacity.
A common example is using a high-melt-flow polyethylene carrier in a polypropylene matrix. The lower viscosity carrier may not shear down pigment agglomerates uniformly during compounding, leaving larger particles that transmit more light. Over multiple regrind cycles or in thin-gauge parts, this mismatch becomes more pronounced: the carrier-rich zones act as clear windows, so the final product looks washed out despite maintaining the same pigment concentration.
To catch these quiet reductions, compare the clarity of a letdown using matched versus mismatched carrier under side-lighting, not just standard opacity tests. Small shifts in L* or contrast ratio may not show up on spec sheets, but visual inspection at low angles or after annealing can reveal carrier-induced haze. Adjusting the carrier chemistry or using a universal carrier designed for the target resin family often recovers opacity without adding more pigment.
Dispersion quality as the real bottleneck in white masterbatch
In white masterbatch production, the pigment loading listed on a datasheet rarely tells the whole story. Titanium dioxide particles have a strong tendency to clump, and unless those agglomerates are broken down and properly wetted out during compounding, the final part will show poor hiding power, visible specks, and uneven gloss. Dispersion quality, not just TiO2 content, determines whether a masterbatch performs as expected.
Poor dispersion acts as a hidden bottleneck because it forces processors to compensate with higher let-down ratios or extra processing steps. Undispersed TiO2 agglomerates can also create weak points in thin films or fibers, leading to breaks and surface defects that are wrongly blamed on the base polymer. The real constraint is often a lack of shear or the wrong dispersing aid in the formulation.
Improving dispersion usually means adjusting screw configuration, melt temperature, and additive package together rather than chasing a finer pigment grade. When dispersion is optimized, the same TiO2 level delivers better opacity and color consistency, so the masterbatch can be used at lower addition rates. That is why experienced compounders treat dispersion quality as the true measure of a white masterbatch, not just its filler loading.
Processing temperatures that keep titanium dioxide bright
Titanium dioxide pigments are surprisingly sensitive to heat during extrusion, injection molding, or coating cure cycles. Once the material climbs past 220–240°C, some rutile grades begin to lose their optical punch, not because the TiO2 itself degrades, but because organic surface treatments start breaking down and can leave behind yellowish residues. Keeping the melt or film below that critical range matters more than most operators realize if you want the final part to stay crisp white rather than drifting toward cream.
Different processing methods call for different upper limits. In polyolefin masterbatches, short residence times at 260°C may be acceptable, but pushing the same grade through a long-barrel PVC profile die at 200°C can already trigger a dulling effect if the screw speed is too low. The brightening power of titanium dioxide relies on the particle staying isolated and well-dispersed; overheating encourages agglomeration and even partial phase transitions that flatten reflectance. A good rule of thumb is to keep the compound's actual temperature at the die head no higher than the pigment supplier's recommended maximum, and to reduce that by 10–15°C when regrind or recycled content increases thermal history.
Cooling rate after forming plays a supporting role as well. Rapid quenching tends to lock in the best dispersion state and minimizes the time the pigment spends at borderline temperatures. For cast film or thin-wall injection parts, a well-designed cooling channel layout can preserve brightness without needing to drop the barrel set points excessively. In practice, the brightest whites come from a balance: enough heat to fully wet out the pigment and break up agglomerates, but not so much that the organic coating sacrifices itself for a few extra degrees of flow.
Comparing cost per finished part instead of per kilogram
Purchasing teams often default to cost per kilogram when evaluating material quotes, but that figure rarely predicts what a component will actually cost. Two alloys may have similar per-kg prices yet produce very different part costs once you account for density, blank size, chip formation, and scrap rates. A denser material yields fewer parts per kilogram, so a seemingly cheap raw material can become the more expensive option at the machine.
Shifting the comparison to cost per finished part forces you to pull in real processing variables—cycle time, tool wear, surface finish requirements, and how much stock must be removed. For example, a free-machining grade often carries a higher per-kg price but cuts faster and generates less tool damage, which lowers the per-part cost on a high-volume job. That trade-off disappears if you only look at the invoice price of the bar or billet.
This approach also makes supplier conversations more productive. Instead of haggling over cents per kilogram, you can ask for a target cost per acceptable part and let the material choice, machining strategy, and even near-net-shape options compete on equal footing. The result is a purchasing decision that matches the economics of your shop floor rather than a number on a commodity index.
Quick trials to evaluate a white masterbatch before rollout
Before committing to a full production run, it makes sense to run a short, focused trial on your existing line. Take a small batch of the white masterbatch and blend it with your base resin at the intended let-down ratio. Run it through a lab-scale extruder or a small injection molder for just enough time to see how the melt behaves. Watch for any sign of screw slip, excessive torque, or uneven feeding. A quick visual check of the first few meters of extrudate or the first few shots often reveals problems that a datasheet won’t show.
Color and dispersion are the two things that usually decide if a white masterbatch is worth scaling up. Pull samples at regular intervals and measure them with a spectrophotometer if you have one, focusing on L* value and yellowness index. But also trust your eyes under consistent lighting—look for specking, streaking, or a slightly grey cast on thin sections. Press the material into a film or plate if possible; a poorly dispersed pigment will show up as tiny white dots or cloudy areas. Compare against your current standard side by side, not just against a printed color card.
While the trial is running, keep an eye on process stability. If you have a screen pack or melt pump, note any rapid pressure build-up, which hints at agglomerates or filler issues. Check the melt temperature and watch for any unusual fumes or plate-out on the die. After you shut down, inspect the screw and barrel for residue. All of this takes a couple of hours but gives you enough confidence to either adjust the loading, tweak the processing window, or reject the batch before it reaches your main production line.
FAQ
The titanium dioxide loading is the big difference. Regular grades might sit around 20-40% TiO2, while high titanium versions usually start at 50% and can reach 70% or more. That extra pigment means each pellet carries much more hiding power, so you can achieve the same opacity with a smaller addition rate.
Titanium dioxide is what gives white its opacity. It scatters visible light very effectively, so a higher concentration means the light bounces back before it can pass through the plastic. That hides whatever is behind the part and makes the surface look brighter, which also helps other colors pop when they are printed on top.
Thin-gauge film extrusion, blow molding, and injection molding of small or complex parts see the biggest benefits. In those cases, wall thickness is limited, so you need a masterbatch that delivers maximum hiding without adding excessive amounts of filler or pigment that could weaken the part.
Dispersion can become a headache if the formulation is not well balanced. Poorly dispersed TiO2 shows up as white specks, lower gloss, or inconsistent opacity. The best products get around this by using a carrier resin that matches your base polymer and a dispersant package that keeps the pigment particles from clumping.
Compatibility is the first thing. The carrier resin should blend easily with the film grade you are running, and the masterbatch should not throw off the melt strength. Also ask for details on particle size and sieve retention, because even a high TiO2 percentage is useless if it creates gels or fisheyes in the film.
Start low, then move up. Many films will work well between 3% and 6%, but the exact amount depends on film thickness and how much covering power you actually need. Running a small trial on your own line is the only way to balance opacity, cost, and mechanical properties.
Yes, that is one of its most practical uses. If your regrind has a yellowish or gray tint, a high titanium white masterbatch can brighten the overall color and hide the variation. It won't fix chemical contamination, but it does a great job of making the final product look uniform and cleaner.
Conclusion
A high titanium dioxide loading does not guarantee superior hiding power. The real performance hinges on how well the pigment is dispersed and whether the carrier resin aligns with your base polymer. When dispersion is poor, TiO2 particles clump, scattering less light and forcing you to add more masterbatch just to reach acceptable opacity. Similarly, a carrier resin that is incompatible or has a very different melt flow can create microscopic phase separation, quietly eroding coverage even if the titania percentage looks impressive on paper. Keep processing temperatures within the recommended window for the grade of TiO2 you use, because overheating can dull brightness through pigment-polymer interactions or thermal yellowing of additives.
Instead of comparing price per kilogram, calculate cost per finished part or per square meter of covered surface. A cheaper masterbatch with weaker dispersion often needs a higher let-down ratio, wiping out any initial savings. Before committing to a full production run, run quick, side-by-side trials on your actual equipment: extrude or mold samples at your standard conditions, measure opacity on a consistent thickness, and check for specks or streaks under a light box. Look at the melt pressure stability as an indirect signal of dispersion quality. The best white masterbatch is not the one with the highest titanium number, but the one that gives brilliant, uniform color and coverage with the lowest practical addition rate in your specific process.
Contact Us
Contact Person: JACK
Email: [email protected]
Tel/WhatsApp: 86 18650130917
Website: https://www.xinwancai.com/